Let's transform GIMP into a manual editor. Converting GIMP to a manual editor Changing hotkeys
Some photo editor users on Windows have a problem with hot keys. The stench simply cannot be ignored. To ensure that your keyboard shortcuts work properly, GIMP needs to be launched with an Anglo-Move keyboard layout, and after launching make sure that the keyboard layout is Anglo-Move when creating new images. To make your robot more handy, it’s best to design an English-language keyboard with a rear-facing layout.
Changing hotkeys
Hotkeys via menu
The Gimpu distributors were already anxiously waiting to move the hot keys, singing, because the stench is so inaudible. The mental reflexes of an accomplished Photoshopper may become noticeable when switching to Gimp, if you don’t immediately take up adjustments. Hotkeys can be configured in the menu "Edit - Key combinations".
Dynamic hotkeys
Gimp has a function for selecting dynamic keyboard shortcuts, which can also include hot keys by typing them in the desired menu item. For example, you can open the menu "Colir", move the cursor over the item "Color balance..." then press Ctrl+B, after what Ctrl+B The color balance will be improved soon.
The function of selecting dynamic keyboard combinations can be added to the tab "Interface" Gimp settings dialog. Before speaking, with this function you can set a combination of keys and filters, which are often used, which, in my opinion, does not happen in Photoshop.
Lipen 2005 r. "Lipne 2005 rock, you may not work well enough with new versions of Gimp, and Photoshop has already changed some of the hot keys.
Moving along the canvas with an additional pass
Gimpu developers have warned the developers who were migrating from Adobe products. In addition to the standard methods of moving the image, they added the ability to move the image when pressing on a space.
Controlling the help of your mouse's wheel
After changing the brushes, you can quickly speed up the process of working on images by changing the size, or the clarity of the lens, right before the time of painting. If I paint, I paint with a mouse. By installing the function of changing the size of the pencil on the mouse wheel. In my opinion, the function is very handy.

In order to earn money, you need to go to “Edit > Parameters > Currency Methods”, vibrati "Misha's Wheel"(“Main Mouse Whell”) and make it active by moving the right part of the window. Then click on the new door and the controller settings window will appear. On the contrary, the Scroll Up and Scroll Down options are set, just click on Scroll Up and select from the window "Context - Increase Radius More", try the same with Scroll Down, only in the context select "Decrease Radius More".
http://www. *****/gimp/settings/hot_key/
Have a nice day!
In this post I want to tell you about how to turn GIMP into a more handy graphics editor.
Until recently I myself, seemingly, even more I didn’t love him, as 90% of those who fell in love with him after Photoshop fell in love with him.
Axis screenshot of what came out of me:
Note: All actions described here were performed on Gimp 2.8.10 under Ubuntu 14.04 Trusty.
Toolbar
I will focus on this screenshot Photoshop CS6.After the first launch, the program greets us with an even more terrible, unknown and frowning look:

Let's start by switching GIMP to single-window mode. The menu item Window>Single-window mode. It already looks better. To customize the toolbar, go to Edit>Options and there the tab Toolbar:

Here the interface is simple, you can adjust the visibility and position of the toolbar elements. Trying to select tools for a quick screenshot, I set the following settings:

Alas, our panel seems to be missing from the window! For help with keys Ctrl+B We're sorry to show up. Although it's similar to PS, it's not:

Rights panel
The right-hand panel is also changeable. It's easier here. By simply re-tightening you can achieve the optimal adjustment for you. Also, don’t forget to go to Window > Sticky Dialogs > Colors to display the Colors panel. I got it like this:
Hot keys
Something else that GIMP doesn’t do well enough is indestructible hotkeys. Solving this problem and turning the hot keys PS, as it turned out, is not at all difficult. The file is imported from freeshell.org ps-menurc. Dad has ~/.gimp-2.8/ your file menurc about every incident is renamed to menurc-old, and the imported file is saved in this folder and replaced ps-menurc called menurc.Gradients, penzli and vezerunki
In my subjective opinion, standard gradients, pens and visuals in GIMP are completely “unnecessary”. After all, after a lot of googling, I knew what I needed. It is not at all obligatory for you to vikorystvovat those that you have chosen, but as you deserve - I am all for it.Gradients
Until I knew what I needed, I had to look through a lot of options, and none of them suited me. Ale, however, the one that I have shaped with zest is also not the most beautiful thing that can be seen.130 Ultimate Web 2.0 Gradients for Gimp 
130 Web 2.0 gradients. To install them, copy all the gradient files from the archive to the ~/.gimp-2.8/gradients folder.
Vizerunki
Do you know the wonderful site subtlepatterns.com? Why not bring the entire collection of marvelous visuals to GIMP? The solution turned out to be very simple. Let's go to our repository and download all the files into a zip archive. The archive is then unpacked into the folder ~/.gimp-2.8/patterns. After restarting, you will be denied access to all unique texture sets. In whose case I should be more quiet before speaking, GIMP should be quieter. Simply drop the .png file into the required folder and your files are already available. Really handy.Brushes
I prefer the standard minimalistic set of controls in older versions of Photoshop (I don't mind, CS4 and lower):
I haven’t been able to find such ready-made rewards, but it’s not at all important to make them yourself. After sending, you can enchant the creations of the set. Unpack it for analogy with the previous additions - ~/.gimp-2.8/brushes. If you want to replace the standard ones with these pencils, replace them in the /usr/share/gimp/2.0/brushes/Basic folder (with backup behind the buttons). The axis looks like this in GIMP: 
It’s worth mentioning that GIMP allows you to create tools like pencils for Photoshop! So if you have favorite sets in ABR format, you can download them here.
Actions functions
If I want GIMP to use a powerful editor, I don’t know any other functions. For example: Content Aware Fill(filling with uranium instead), Ball styles, Move tool only for the active ball, and not all the times," Sticky to straight lines and cordons, creation of a new ball from a vision. All the information in GIMP is of no great value to us. Hey, let's keep things in order.Content Aware Fill
This is a good feature that first appeared in Photoshop in the CS5 version of GIMP, even before implementing the Resynthesizer plugin, and now with the greatest brilliance the Heal Selection plugin is implemented. In order to use it properly, you will need to install the Resynthesizer as well. For the messages you can use the plugins. Their installation is similar to hot keys. Resythesizer to the ~/.gimp-2.8/plug-ins folder, and Heal Selection~/.gimp-2.8/scripts . After restarting the program, you will see the item Filter>Add-on>Heal Selection in the menu.Ball styles
Styles of balls - it would seem that they are different, but in some cases they also stand out. As well as the filling and arrangement, the styles are added by the plugin. From gimp.org, download the plugin version.scm and copy it to the folder ~/.gimp-2.8/scripts. After restarting, the menu will appear Script-Fu>Layer Effects.Normal movement
In order to ensure normal movement of the ball, as it appears, just put a check mark opposite the option Move active ball(This will need to be done in the Tool Setup panel when the Move Tool is active):
And, before speaking, sometimes the required and old mode, but in no way can you see the ball you are pressing on. To do this, go to Edit>Adjustment, tab Tool options, check the box " Robiti ball chi contour active".
"Sticky"
To reduce sticking to the borders, you need to open the config file ~/.gimp-2.8/gimprc and add the following line at the end of the file:(default-snap-to-canvas yes)
Save the file and after restarting the sticking will continue to work.
Creation of a ball from a vision
At PS for additional keys Ctrl+J You can create a new ball from the vision. We love the plugin. From the folders in the "Locale/ru" archive, unzip the .py file into the ~/.gimp-2.8/plug-ins folder (don't forget to create a compact file). After restarting, the menu item Ball>Virise/Copy to a new ball will appear.Cosmetics
In addition to those and icons about which it is written below, I do not have any more words to say.We take away the video with the dotted line of the flow ball
As you have already noted, the active ball appears as the same dotted line:Let's get yogo! Just go to Edit>Options, Image Window tab>External Appearance. There you need to check two boxes. Show the boundaries to the ball".
Subject
And now it’s okay. Subject. You can enchant it using gnome-look. From the archive folder Gimp-CS6-Theme Placed in ~/.gimp-2.8./themes/. Restart GIMP so you can read the new topic; I'll go to Edit>Options tab Those. Select Gimp-CS6-Theme.
The first axis is out! Wait a minute, now GIMP is much better.
And now you can change the screensaver image. This blog has a lot of bad options. I'll choose this:

Virus by /usr/share/gimp/2.0/images . Replace the file gimp-splash.png for downloads (do not forget that this requires root rights!). Now, when we start, we are greeted with a welcome message:

Pouch
Now I'm especially happy with GIMP and have started to use it in everyday work. If you still know something about how to make GIMP more usable, I will be happy to add this to the post.But I’ve lost all my nutrition, so I’m sure they’ll help me find out the types.
1. Is it possible to attach a panel to the top/bottom similar to PS?
2. Is it possible to select colors the same way as in PS?
3. How to colorize PSD import from GIMP?
4. How to create dividers on the toolbar?
5. How can I change the type of straight lines?
6. How to replace standard tasks, for example, standard Photoshop ones? VIRISHENO
7. How to group tools on the panel?
UPD: I am attaching archives and folders to Meklon. gimp-2.8, however, there is no 100% guarantee that after copying the folder you will have the same folder as in the screenshot.
UPD: A section about textures and gradients has been added.
UPD: Add a section for the pencil
Have a nice day!
In this article I want to tell you about how to turn GIMP into a more handy graphics editor.
Until recently I myself, seemingly, even more I didn’t love him, as 90% of those who fell in love with him after Photoshop fell in love with him.
Axis screenshot of what came out of me:
Note: All projects described here were developed on Gimp 2.8.10 under Ubuntu 14.04 Trusty.
Toolbar
I will focus on this Photoshop CS6 screenshot.
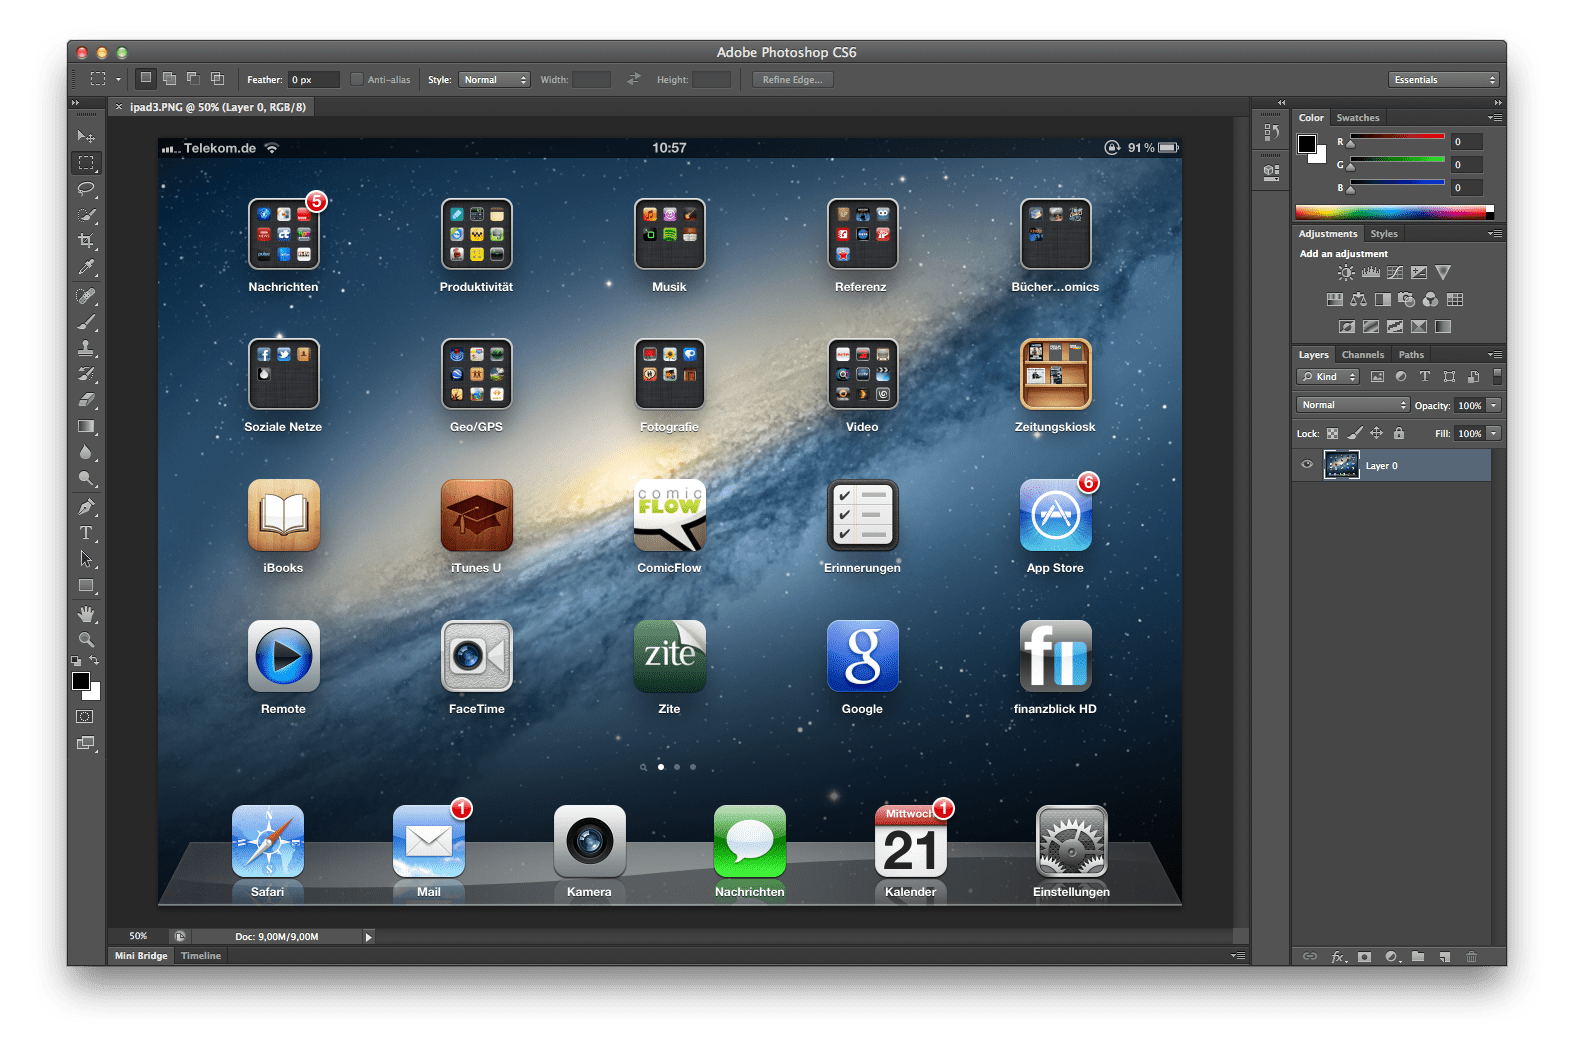
After the first launch, the program greets us with an even more terrible, unknown and frowning look:

Let's start by switching GIMP to single-window mode. The menu item Window>Single-window mode. It already looks better. To customize the toolbar, go to Edit>Options and there the tab Toolbar:

Here the interface is simple, you can adjust the visibility and position of the toolbar elements. Trying to select tools for a quick screenshot, I set the following settings:

Alas, our panel seems to be missing from the window! For the additional help of the Ctrl+B key, please contact us. Although it's similar to PS, it's not:
Rights panel
The right-hand panel is also changeable. It's easier here. By simply re-tightening you can achieve the optimal adjustment for you. Also, don’t forget to go to Window > Sticky Dialogs > Colors to display the Colors panel. I got it like this:

Hot keys
Something else that GIMP doesn’t do well enough is indestructible hotkeys. Solving this problem and turning the hot keys PS, as it turned out, is not at all difficult. The file is imported from freeshell.org ps-menurc. Dad has ~/.gimp-2.8/ your file menurc about every incident is renamed to menurc-old, and the imported file is saved in this folder and replaced ps-menurc called menurc.
Gradients, penzli and vezerunki
In my subjective opinion, standard gradients, pens and visuals in GIMP are completely “unnecessary”. After all, after a lot of googling, I knew what I needed. It is not at all obligatory for you to vikorystvovat those that you have chosen, but as you deserve - I am all for it.
Gradients
Until I knew what I needed, I had to look through a lot of options, and none of them suited me. Ale, however, the one that I have shaped with zest is also not the most beautiful thing that can be seen.

130 Web 2.0 gradients. To install them, copy all gradient files from the archive to the ~/.gimp-2.8/gradients folder.
Vizerunki
Do you know the wonderful site subtlepatterns.com? Why not bring the entire collection of marvelous visuals to GIMP? The solution turned out to be very simple. Let's go to our repository and download all the files into a zip archive. The archive is then unpacked into the folder ~/.gimp-2.8/patterns. After restarting, you will be denied access to all unique texture sets. In whose case I should be more quiet before speaking, GIMP should be quieter. Simply drop the .png file into the required folder and your files are already available. Really handy.
Brushes
I prefer the standard minimalistic set of controls in older versions of Photoshop (I don't mind, CS4 and lower):

I haven’t been able to find such ready-made rewards, but it’s not at all important to make them yourself. After sending, you can enchant the creations of the set. Unpack it for analogy with the previous additions - ~/.gimp-2.8/brushes. If you want to replace the standard ones with these pencils, replace them in the /usr/share/gimp/2.0/brushes/Basic folder (with backup behind the buttons). The axis looks like this in GIMP:

It’s worth mentioning that GIMP allows you to create tools like pencils for Photoshop! So if you have favorite sets in ABR format, you can download them here.
Actions functions
If I want GIMP to use a powerful editor, I don’t know any other functions. For example: Content Aware Fill(filling with uranium instead), Ball styles, Move tool only for the active ball, and not all the times," Sticky to straight lines and cordons, creation of a new ball from a vision. All the information in GIMP is of no great value to us. Hey, let's keep things in order.
Content Aware Fill
This is a good feature that first appeared in Photoshop in the CS5 version of GIMP, even before implementing the Heal Selection plugin, and now with the greatest brilliance the Resynthesizer plugin is implemented. For the messages you can use the plugins. Their installation is similar to hot keys. Resythesizer to the folder ~/.gimp-2.8/plug-ins, and Heal Selection~/.gimp-2.8/scripts. After restarting the program, the menu will display the item Filter>Decoration>Heal Selection.
Ball styles
Styles of balls - it would seem that they are different, but in some cases they also stand out. As well as the filling and arrangement, the styles are added by the plugin. From gimp.org, download the plugin version.scm and copy it to the folder ~/.gimp-2.8/scripts. After restarting the menu, the Script-Fu>Layer Effects item will appear.
Normal movement
In order to ensure normal movement of the ball, as it appears, just put a check mark opposite the option Move active ball(This will need to be done in the Tool Setup panel when the Move Tool is active):

And, before speaking, sometimes the required and old mode, but in no way can you see the ball you are pressing on. Let's go to the right place Vipravlenya>Setting up, tab Tool options, check the box " Robiti ball chi contour active".
Sticky
To reduce sticking to the borders, you need to open the config file ~/.gimp-2.8/gimprc and add the following line at the end of the file:
(default-snap-to-canvas yes)
Save the file and after restarting the sticking will continue to work.
Creation of a ball from a vision
On PS, you can use the additional Ctrl+J key to create a new ball from the video. We love the plugin. From the folders in the "Locale/ru" archive, unzip the .py file into the ~/.gimp-2.8/plug-ins folder (don't forget to create a compact file). After restarting, the menu item Ball>Virtualize/Copy to a new ball will appear.
Cosmetics
In addition to those and icons about which it is written below, I do not have any more words to say.
We take away the video with the dotted line of the flow ball
As you have already noted, the active ball appears as the same dotted line:
Let's get yogo! Just go to Edit>Options, Image Window tab>External Appearance. There you need to check two boxes. Show the boundaries to the ball".
Subject
And now it’s okay. Subject. You can enchant it using gnome-look. The archived Gimp-CS6-Theme folder is located in ~/.gimp-2.8./themes/. Restart GIMP so you can read the new topic; I'll go to Edit>Options, Themes tab. Select Gimp-CS6-Theme.

The first axis is out! Wait a minute, now GIMP is much better.
And now you can change the screensaver image. This blog has a lot of bad options. I'll choose this:

Virus on the path /usr/share/gimp/2.0/images. Replace file gimp-splash.png for downloads (do not forget that this requires root rights!). Now, when we start, we are greeted with a welcome message:

Pouch
Now I'm especially happy with GIMP and have started to use it in everyday work. If you still know something about how to make GIMP more usable, I will be happy to add this to the post.
UPD: I am attaching the archives with the folder.gimp-2.8, although there is no 100% guarantee that after copying the folder you will have the same one as in the screenshot.