Modernization of the laptop cooling system with a wet hand. Do-it-yourself cooling stand: features of selection and selection of components Designs of stands for laptop cooling
I'm sharing with all the Khabrousers, today I'll let you know how I've created a simple and budget-friendly cooling pad for a laptop.
Why do we need:
1) Folder for A4 sheets, with rough cardboard, in my opinion shvidkozshivach folder with arched zipper, the axis looks like this:

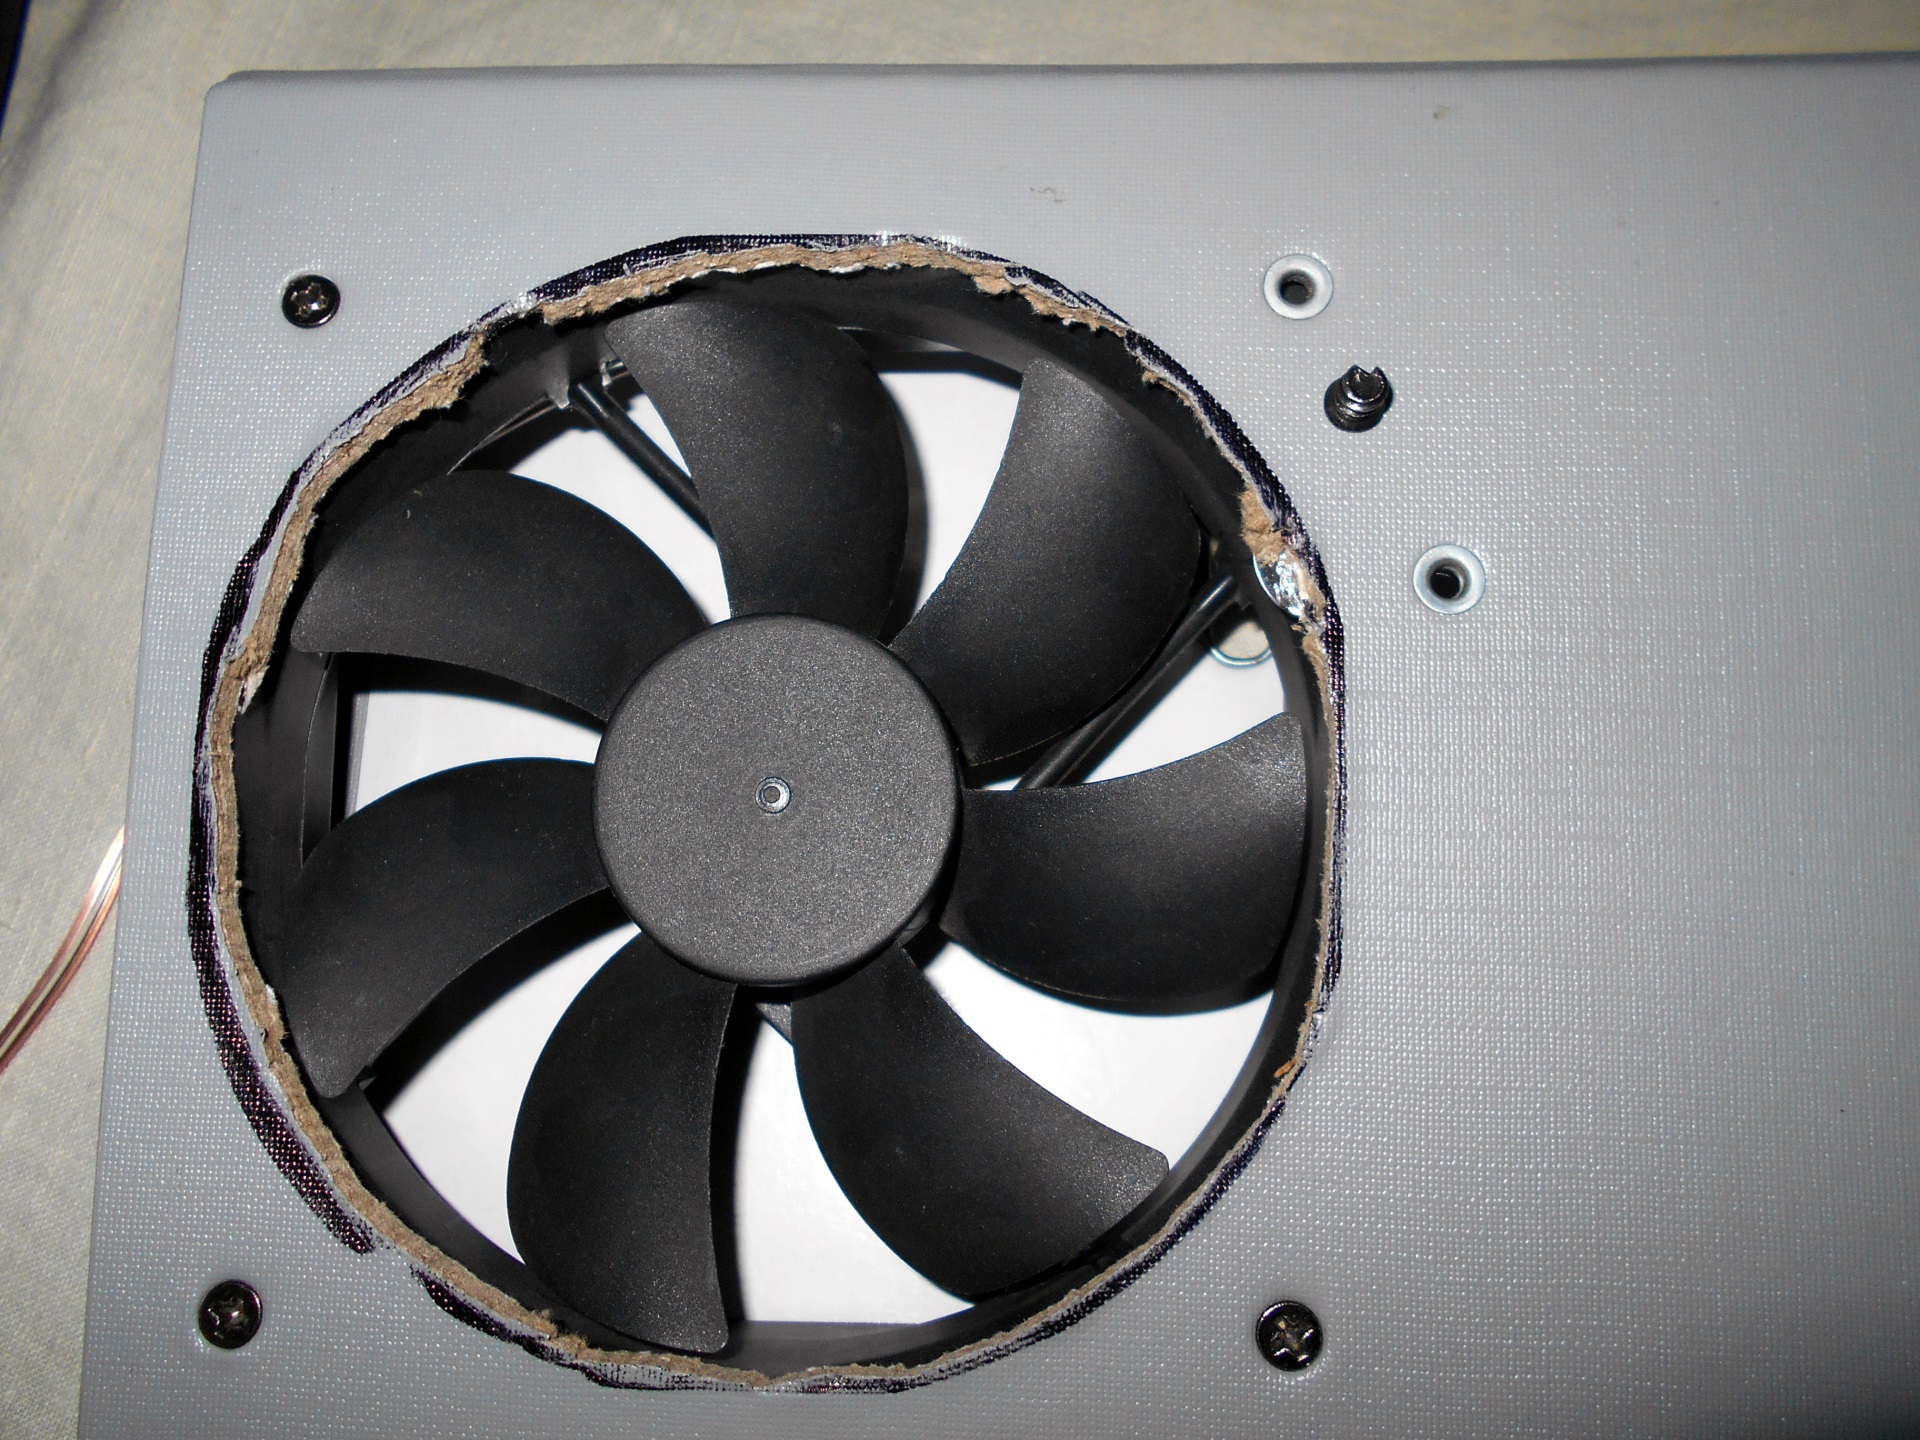
2) Fan for a computer measuring 120 by 120 mm:

I happen to have one of the best-priced Gembird FANCASE3 fans, rated for 2100 rpm, which is “like a vacuum cleaner,” but, prote, having installed nearly three rocks on my old computer and is still working.
Of course, you can take smaller fans, but 120s may have the best price/performance/noise ratio.
3) Removable USB plug type A (male/tato):

You can immediately light the USB vaporizer, otherwise you might “let it go under.”
4) 10 centimeters, if you wanted to earn money, so I:

5) Bottom, fastener, twist, marker/pen, electrical tape or heat shrink (the lens frame is not damaged, but it stinks).
Prepared:
To begin with, we need to choose a place where the fan will be, I recommend choosing one closest to the end of the folder, and it is extremely safe to move the ventilation openings of the laptop and also, it is important to install the fan directly under the hot parts of the laptop, which is usually the case either a video card or something else in one case (the video card is integrated into the processor), as, for example, in mine. Even though it’s powered up because you have an integrated video card, then after all the overheating you can’t, still bother with the additional cooling system? The answer is simple - purely sporting interest, the idea is even simpler, and everything around the folder was obvious to me.
After we have chosen the optimal distribution of the fan or fans (for example, the size of the folder allows you to install two 120 mm fans, which is such a necessity, but also allow you to add rigidity to the entire structure, which is clearly a mistake here , but about this later) is required mark out the part that needs to be cut:

Then you need to mark the openings for the fan screws:

It is best to operate the charge from the ball handle:

It is estimated that we have properly unpacked both the outer side of the folder, where the laptop will be, and the inner side, where the fan will be.
As you know, I didn’t manage to make a hole for the fourth screw, so the fan is moving at three.

Standing at the end of the folder, I got about 25 millimeters, but I worked specifically under my laptop so that the fan would be closer to the hot parts of the laptop.

As you see, I can’t get my little things right, so here’s the picture from Wikipedia:

As a rule, The red wire of the fan is plus, and the black wire is minus, This is the monitoring of the wrappers, you can’t ignore us, like the D+ and D-USB contacts. Ozhe, ah It is IMPORTANT to insulate everything after connecting the wires Be careful not to let your laptop have a short interruption, which could have a negative impact on your lover, and don’t pretend that I’m not ahead of you.
If you still want to make a USB connector from a USB connector, then it’s the same, the red wire is a plus and the black wire is a minus.
Of course, there is a decrease in fan speed, which will occur at least twice as much, so I think that fans at 800 rpm will not work for anyone, they may not start at all, ideally at 1700-2500 rpm . Then noisy fans tend to become quieter and generate less air flow.
And just a couple more times before installing the fan, I think it’s better to install the fan so that you can see the wind from the bottom of the laptop, so that you can “stand in plain sight,” as they say among the “honeycombs.” Of course, no one wants to put it on the line, but even if you blow all the air in the middle of the laptop, think about why it’s best to clean the cooling system of the laptop?

The exhaust flow, as well as the fan wrapping side, is shown on the side.

As you can see in the photo, I pulled out the arched clamp, respecting me, respecting that you will too, just carefully twist it, however, everything is visible in the photo.
Hydration and shortcomings:
Before the pros You can add the simplicity of preparation, I think it is not difficult for anyone to prepare such a stand, after such a large number of photographs that I have taken, cheapness and flexibility, you can work right away with your laptop, without moving the valve valuable laptop openings, satisfied with what you made with your own hands, buy maybe leather
Before the cons You can add some quality to the design, just take a look:

It seems to me that this is not entirely good, since you will have some ideas and thoughts to write in the comments or in my profile there will be messages on Facebook and VKontakte. For now it’s like this:

Although, I think it would be more correct to say this:

Even before the shortcomings, I will say that the efficiency is low, during tests the temperature in me dropped by only 2 degrees, but I respect that there is not a lot of the laptop’s cooling system itself, so I can screw the bottom cover in order to draw hot air directly into id heat pipes, then there will be a fall The temperature is clearly higher.
And the remaining shortcoming is because my fan is old, 3 years ago, for an engine with a forged bearing, it’s a great row, but for a brushless one, slightly noticeable “tampering” is important, because of the wear of the bearing.
Hello everyone! Regular overheating of the laptop leads to permanent equipment failure. So today I would like to tell you how to cool down a laptop at home and why it overheats.
Ways to combat overheating
In order to prevent overheating and cool down the laptop at home, you can quickly use some of my tips, but overheating not only causes damage to the device, but also causes damage in many situations.
Vibrate correctly mіstse roboti
The cooling system in laptops is designed in such a way that it is visible through the upper part of the body, and is installed through the lower part. If you place the attachment on a soft or soft sofa, you will not be able to circulate freely from below. Because All the openings appear to be heavily blocked.
In addition, from soft fluffy surfaces (pillows, cushions, sofa armrests, etc.) through the ventilation openings, the blades of the cooling system begin to “pick up” fluff and sawdust. By settling on the blades, the remaining particles of contaminants suppress the temperature rise of all working mechanisms and elements of the laptop.
It is best to work with a computer device at the table. To prevent overheating in this case, for example, a bunch of plastic covers or bars will help. For free circulation, place them between the table and the lower part of the laptop.
Nowadays you can buy inexpensive specially designed products for this purpose, which will help overcome the poor circulation.
Provide comfortable washrooms
In your room, where you are working with a laptop, there is no reason to be restless. On summer days, you can direct the air flow from the fan or air conditioner to the appliance.
Also be careful not to waste direct sleepy exchanges on your possession. Ventilate the room - it will be good for both you and your equipment;
Ventilation stand or cooling table
The price for the first is 500-700 rubles, for others - at least 1000-1500 rubles. The price is justified by the fact that you won’t have to pay for repairs to a laptop that is in good health due to overheating. Selected products allow the temperature to be reduced to 15 degrees. Celsius.
Special stands that elevate equipment have a cooler in the middle that collects air from below and feeds it to the lower part of the laptop.

If you often play heavy-duty computer games or are constantly in front of your laptop for other reasons, leaving your devices running all day, it is practically impossible to avoid severe overheating in any other way. The stands ensure normal air circulation and provide additional cooling.
As an affordable solution, you can purchase an additional radiator with a ball of thermal paste on any Chinese website. This option is only for those who have a laptop case with a good place for such elements;
Cleaning or upgrading your laptop
The manipulation that you can do with your own hands to turn off overheating involves periodically removing the saw from the cooler and cooling pads. Why do you need a special spray can or a special vacuum cleaner?

Laptops often overheat due to dry thermal paste. The purpose of this warehouse lies in the regulated exchange between working systems and cooling elements of equipment. The thermal paste immediately pours onto the video adapter and the central processor. You can update the paste with your own hands by removing the back cover of the laptop and removing the battery. Take out the video card, clean the chip and radiator from a dry warehouse, apply fresh thermal conductive paste;
Vikoristannya laptop with a mind
Stop using the device once you stop using it. The sleep mode does not apply to the robot system at all; the laptop continues to maintain the desired temperature.
Sometimes, use special utilities such as HWMonitor or HWInfo. I'll tell you about those that the laptop needs additional cooling installed, otherwise there will be no harm and repairs. Specify programs:
1. Cooler wrap frequency.
2. Set the minimum and minimum values of the sensors.
Look at the information from the user manual that comes with your laptop (you can also find it on the official website of the laptop) about the maximum permissible temperature range for operating the device. If your device is overheating, please check immediately.
You should also check whether the battery life mode and the processor have been adjusted correctly. Go to or search for vikoryst row and find Electrical life e. Go to the setup menu, select Power Supply of the Processor through the Additional Life Settings. Reduce the height of the maximum price.
It doesn't help anything.
Once you have completed all your guesses, if the back cover of the laptop continues to lose heat and/or you hear noise from the laptop cooler, contact the service center. Let's talk about the problem of hardware and technical nature. Let’s say that the cooling system went well. Do not try to fix the device with your own power - you will fix the problem.
Well, with that, in principle, I’ll end my article for today. I hope that you liked that korisna, so don’t forget to subscribe to the new blog, since you haven’t done anything yet. Good luck to you. Boo!
With respect, Dmitro Kostin
Today we can easily make a self-made cold pad for a laptop with our own hands using improvised materials.
A cooling stand for a laptop that can be made practically from any sheet material, a pair of fans, etc. Such a laptop stand will prevent overheating and will be more effective and less universal in the store, because is prepared specifically for your laptop model.
Prepared:
To prepare a cooling pad for a laptop you will need:
- Any type of sheet material (plywood, sandwich panel, PVC panel, laminate, etc.)
- Pair of fans
- Life block for mobile phone
- Hacksaw
- Stationery Nizh
- Soldering iron
- Roulette and ruler
- Peremikach
- Insulating stitch
Stage I
We first take the dimensions from the lower part of your unit and indicate the position of the fans on the chair. Make sure that the side of the laptop is tightly pressed against the vertically-rotated fan. Therefore, before reaching the upper part of the stand, you need to add the width of this fan (for this type - 25 mm).


Same with side and back walls

Stage II
Let's prepare the fans soon. For this purpose, we connect them in parallel and solder them to the living block of the mobile phone through a jumper. In this case, a power supply unit was installed from an old, non-working telephone with an output voltage of 6.5 and a power supply of 0.5 A.

Stage III
In the final stage, we remove the electronic part from the housing and glue the blue dry melt to the sandwich panel.


You can also color the outside appearance of the laptop stand with regular permanent markers.
Testing the laptop stand:
To check the effectiveness of the cooling pad, a table was compiled with temperature measurements on different components of the laptop depending on the hour of cooling.

As can be seen from the table, even in the first half of the work of the stand there is a significant change in temperature. The temperature drops by 13 degrees for the central processor (CPU) and 10 degrees for the graphics processor (GPU or video card), which is an even worse indicator.
Ergonomics
The design of this laptop cooling pad allows you to place the most frequently used and necessary speech underneath it.
For more than 4 years now I have been using a laptop as a replacement for a desktop. After switching to a laptop, there were a number of significant shortcomings for me: the robot’s engine, under pressure, increases the heating of the main components and the surface of the laptop and those that are equal to the screen are below the comfort zone of the robot. Having suffered so much, on the cob of 2009, a stand with 4 mm plexiglass with 2 120 mm fans was firmly closed.
Last hour, and in the fall of leaves in 2011, I replaced my grandfather, Acer TravelMate 5520, with the more current Acer Aspire 5750. . So the decision was made to create a new one, thoroughly.
Initially, there was an idea to make it from 2-3 mm aluminum sheet, but the search for a similar material at a reasonable price was not successful. The new idea was to use the material of the cover of an old computer case. On the local flea market there is an old AT case with a U-like cover of similar sizes.
For the beginning, everything was once again measured, estimated and planned. In order to avoid damaging the farb too much, I cut it with a jigsaw and applied masking tape.

It’s good that one wall has already lost its P-like cover, so after another time everything had to be cut and drilled correctly:

After the front grinding the result was:


Then there was cleaning and filling with matte black tarpaulin in thin 4 balls. It immediately became clear that I had sanded a little carelessly - in places you could see rags from sandpaper, and all through those who had hurried. But still, without going through the process, the fragments of the whole place will still be under the bottom of the laptop.
A fan speed controller was also selected based on the voltage stabilizer LM2940 (similar circuit) voltage regulation range at input 11.82V from 5.24V to 11.62V, the humic legs were kept in place a set of kneading and installation on double-sided tape. The fans I purchased were 135 mm Scythe Slip Stream (SM1425SL12H), which were bought cheaply. The stand is powered by an external 12V 1.5A power supply. Viyshov has the following device:


The drop in temperature during the cold weather on the processor was 7-10 degrees on the video card 8-13.
The project has already been stretched out due to lack of time and opportunities, but as a result, it will reach completion and truly recover.
vGamBIT, people.overclockers.ru
Prepare the chair stand. Its width and width are a couple of centimeters larger than the size of the computer. Place the air intake opening on the stand. The stench of the culprit will be as close as possible until the air openings on the bottom panel of yours are opened.
Move the chairs to an aluminum or plexiglass arch. Use a metal hacksaw to cut the bottom, top and back covers and side walls of the stand from the prepared sheet. On the top corner, behind the help of an angle grinder, open the fan opening.
Prepared stand
The armchair can be made not on paper, but directly on a sheet of metal or plexiglass. To mark the openings for the fans, place the laptop on the top cover. This is a place where the lid is very hot, which means you need to drill an opening for the air intake. Make an opening for the wires on the back edge or on the side edge. Sharp and uneven edges of the openings need to be filed.
All edges of the stand are held together with screws. To do this, use pliers or flat blades to pry out the edge at 90° on the skin edge of the metal sheet, drill holes for the screws and seal the edges. The edges of the plexiglass stand are held together with glue.
Preparing the refrigeration system
To gain access to the fans, one of the covers (preferably the top one) must be pressed. Attach the fan to the bottom cover of the stand with screws or glue.
Take the electric lancet to turn up the fan. Lantsyug sequentially with a fan, Molex, USB cable and Vimikacha. To check the work of the lancet, remove the stem without soldering. After the conversion is complete and everything is working, you can solder the bits using solder, rosin and a soldering iron. After soldering, wrap the connected wires with electrical tape. If you are going to rotate a series of fans, you will need to connect them in parallel.
Decoration of the stand
Clean the surface of the stand and the grease. Using a knife and a knife, make all the necessary openings in the flap so that it self-adheses, and carefully glue the stand from all sides. Tighten the wire with zip ties to match the color to your stand.
During the opening hours, the openings for the fan may become leaky. If this happens, then when the surface of the stand is glued with melt, place strips of thin cardboard under it so that the openings look neat and the melt does not tear on the sharp edge of the cuts.